When you work in After Effects for a while, you start keeping a personal list of effects and expressions: not long tutorials, just quick reminders—which effect to use for a specific look, which expression loops an animation, which shortcut reveals keyframes. These notes look messy, but they are often the most useful part of your workflow.
This article turns one of those practical AE notes into a reusable quick reference: path lines, shadows, blur, loop expressions, noise, turbulence, liquid displacement, color correction, keying, pixel styles, and repeating backgrounds.
1. Paths and Lines: Rounded Corners and Logo Line Animation
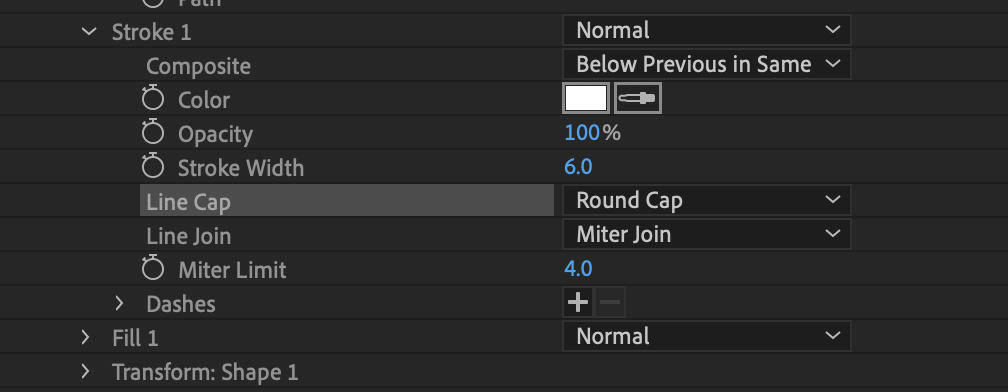
Rounded corners on a pen path
If you draw a path with the Pen Tool and want rounded corners, add the Round Corners effect to the path and adjust Radius. If you are working with a rectangle in a shape layer, it is even simpler: adjust Roundness directly in the rectangle path properties.
A cleaner note would be: “Pen path corners: Round Corners. Rectangle shape: Roundness.”
Logo line head-to-tail animation
For logo line growth, stroke animation, or “draw-on” effects, the core effect is Trim Paths. Add Trim Paths to a shape layer path, then adjust Start, End, and Offset. A common setup is to animate End from 0% to 100% for line growth, or animate Offset for a flowing line.
The U shortcut
Press U to reveal all animated properties on a selected layer. This is useful for finding keyframes quickly when they are buried inside a layer. A more precise note would be: “U reveals animated properties and helps locate keyframes.”
2. Light, Shadow, and Blur

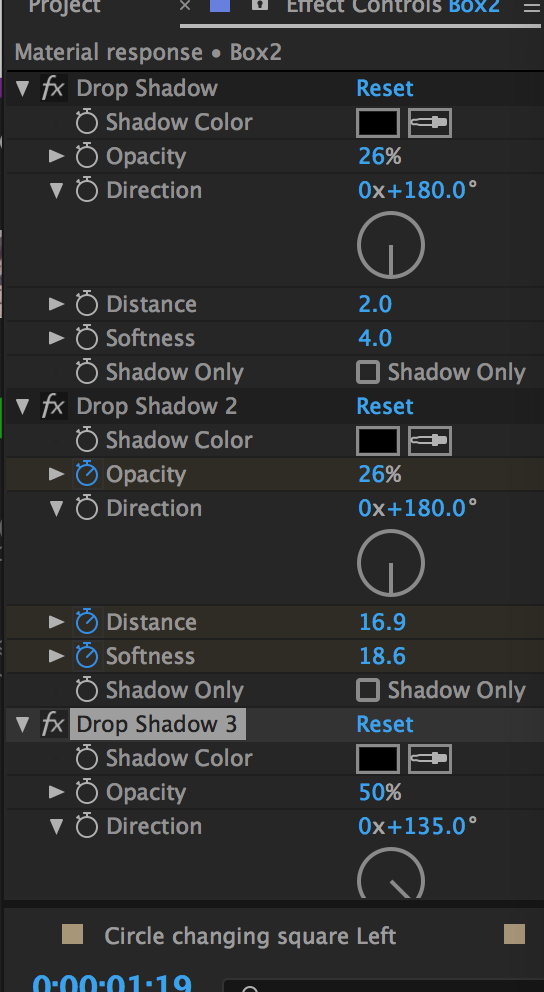
Shadow design
Search for Drop Shadow to add a shadow to text or shapes. The key settings are Distance, Softness, Opacity, and Direction. For UI or logo work, avoid heavy shadows; low opacity and high softness usually look more natural.
Blur
Common blur effects in AE include Gaussian Blur, Fast Box Blur, and Camera Lens Blur. Use Gaussian Blur for general softness, depth of field, or text blur. Use Fast Box Blur when you need faster rendering. Use Camera Lens Blur when you want a more lens-like look.
3. Loop Expressions: Make Animations Repeat
Two loop expressions are especially useful:
javascript
loopOut("pingpong");
Ping-pong loop: 1 → 3, 3 → 1. It goes back and forth. This works well for breathing, swinging, hovering, or subtle motion.
javascript
loopOut("cycle");
Cycle loop: 1 → 3, 1 → 3. It repeats in the same direction. This works well for rotation, position movement, and looping backgrounds.
The note “loopOut();” usually defaults to cycle, but it is better to write loopOut("cycle") explicitly so your notes are easier to read later.
How to use it: create at least two keyframes on a property, then Alt-click the stopwatch and enter the expression. Remember that the expression loops the keyframe range. If the keyframes are too few or the timing is wrong, the loop will look mechanical.
4. Noise, Jitter, and Glitch Texture
TV noise
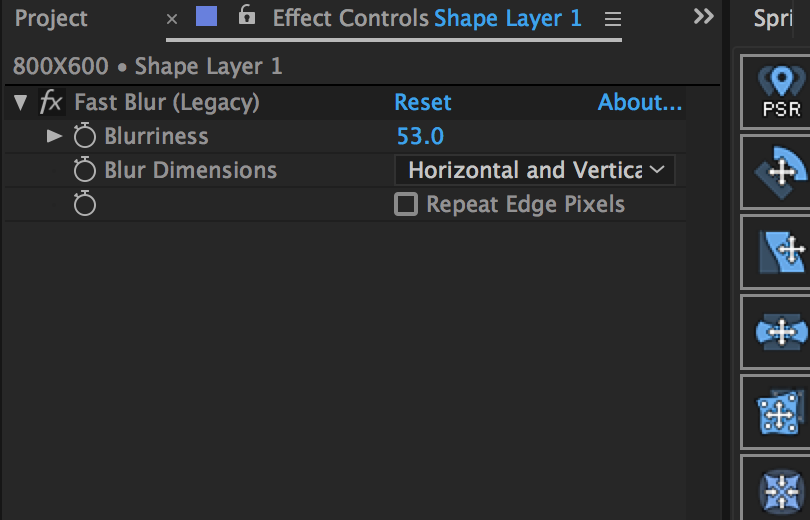
For TV static, grain, or glitch texture, common choices are Noise and Fractal Noise. If your note says “dissolve,” that may refer to a dissolve transition; for noise texture, use Noise or Fractal Noise first. You can stack it with Screen or Overlay blending mode and lower the opacity.
Jitter
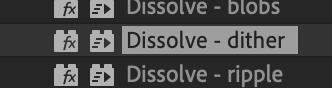
Turbulent Displace is one of the most useful jitter and distortion effects in AE. Adjust Amount, Size, and Evolution to create shaking, edge instability, glitch distortion, or organic movement. Add an expression like time*100 to Evolution to keep the noise changing.
5. Liquid Effects and Color

Liquid effect
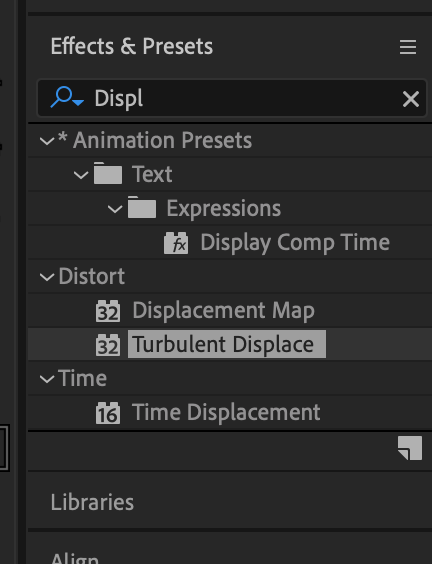
The note “Displ” should be written as Displacement Map. It uses a displacement map layer to control pixel movement. It is commonly used for liquid distortion, heat haze, glass refraction, and melting text. The key settings are Max Horizontal Displacement, Max Vertical Displacement, and the displacement map layer. Combine it with Turbulent Displace to create a dynamic displacement map for a stronger liquid look.
Color effect
Curves is a core color correction effect. Use it to adjust brightness, contrast, and color. For stylized looks, start with Curves to set contrast, then add Fill, Tint, or an adjustment layer.
6. Keying, Fill, and Pixel Style
Keying
For green screen or blue screen footage, start with Keylight. For color-based keying, use Linear Color Key. A typical workflow is: use the Keylight eyedropper to pick the background color, adjust Screen Colour, refine Clip Black and Clip White in Screen Matte, and clean up the edges. The note “key” is better written as Keylight or Linear Color Key.
Fill
Fill quickly changes color and is often used with blending modes or masks.
Pixel style
Try CC Ball Action for a ball-like or pixelated abstract look. You can also use Mosaic for a more direct pixel-block effect. For retro pixel style, Mosaic is more straightforward; CC Ball Action is better for abstract particle-like visuals.
7. Repeating Backgrounds and Auto Fill
Motion Tile
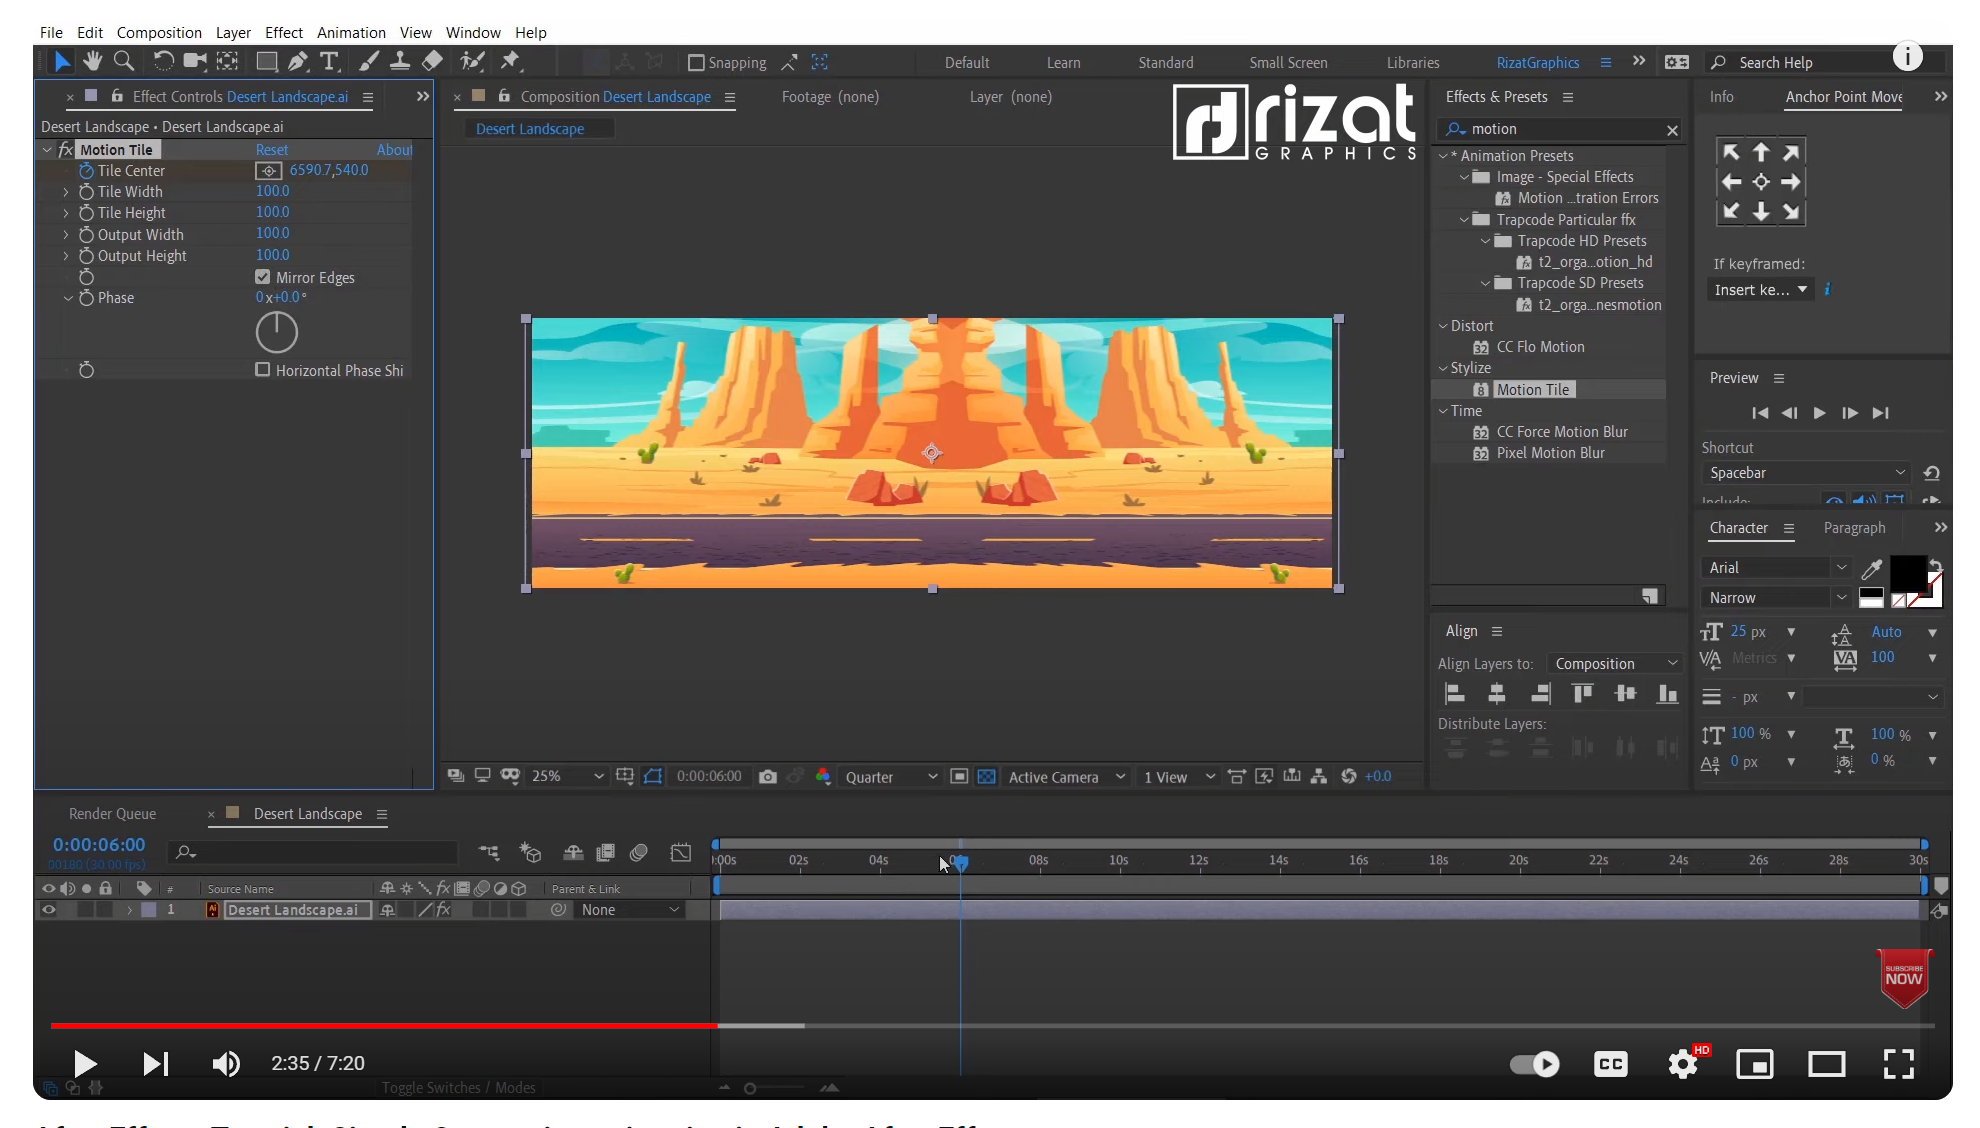
Motion Tile is great for repeating backgrounds, seamless textures, and extending the frame. Adjust Tile Width and Tile Height to control repetition. Enable Mirror Edges to mirror the edges and reduce visible seams.
Auto Fill
The note “autc fill” should be Auto Fill. It can quickly fill an area or extend the edges of a layer. It is often used with Motion Tile for background work. Pay attention to layer order and the fill range when using it.
8. Turn Your Notes into a Workflow
The most valuable part of your notes is that they are organized by use case. A better template for future notes would be:
Use case: Logo line growth
Effect: Trim Paths
Shortcut/Expression: U to reveal keyframes
Key settings: Start / End / Offset
Mini example: Animate End from 0% to 100%, loop Offset
Three improvements to make your notes more reusable:
- Write both the English effect name and the Chinese name when needed, for example “Displacement Map.”
- Separate effects, transitions, expressions, and shortcuts clearly.
- For each effect, note one most-used setting and one real project example.
Conclusion
AE has many effects, but the high-frequency ones are usually the same: Trim Paths for lines, Drop Shadow for depth, Blur for softness, loopOut for looping animation, Turbulent Displace for jitter, Displacement Map for liquids, Curves for color, Keylight for keying, and Motion Tile for repeating backgrounds.
If you turn scattered notes into a “use case—effect—settings—example” structure, you move from remembering effect names to building a real workflow.
Your notes are already heading in the right direction. With clearer terminology and a few key settings, they can become a very useful AE quick reference.